I absolutely LOVE these! However be very careful when you are explaining to someone what they are... you need to pronounce Boo separate from blocks other wise you will combine the two really quickly and your audience will think you said Boob locks.... yeah had that happen to me more then once! you get a blank stare from your audience then you get the question... "What are boob locks? Is it like a chastity belt in some form?" HA! For some girls who don't know what a real shirt is then yeah I wish! But no... Lol Good times!!
 I was on my friends craft blog and she had posted how to make these amazing blocks! I was ready to get started on making them when she tells me that she can put together a kit for me so it makes it easier for me to do. She said that I will have everything right there including the ever so expensive vinyl. I couldn't pass up that offer so I told her I would love to buy one of her kits. My husband and I went down to around where she lives and picked it up! I got started right away!
- 3 semi thick wood blocks (The big one 13 inches, medium 10 inches, Small 7 inches)
- White paint
- wood stain
- sand paper
- vinyl spelling out "Boo"
- Rag to wipe off stain
- 2 foam brushes 1 for the paint and 1 for the stain

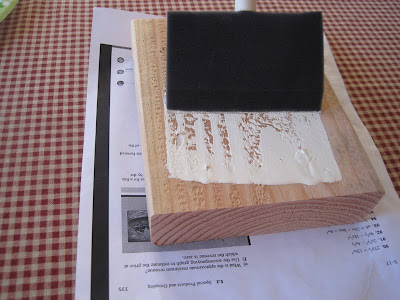
1. Paint the blocks white (Do not sand blocks before, the roughness of the blocks give it a more creepy look)

2. Paint another coat of paint on until it is all painted and dried.

3. Take sand paper and roughly sand down the sides and the corners of the blocks. You want it slightly unevenly sanded. Imperfection is highly favored when it come to Halloween projects, makes the craft much more spooky!
4. Brush on a layer of wood stain and wipe it off! The longer the stain is on the darker the wood blocks will be... You decide.
 (yes I know I forgot to sand my sides and corners in this picture.. don't do that)
Hint: The places that you sanded will be much darker then where you didn't sand. Don't freak out that is how it is supposed to look!

5. Once the stain is not sticky put on your vinyl lettering and then display!
These were hers:

These were mine!


Have Fun!
Melissa Elizabeth


Beautiful! I love it. Really puts one in the holiday spirit.
ReplyDelete